Student Resources
Select your program below to see resource information:
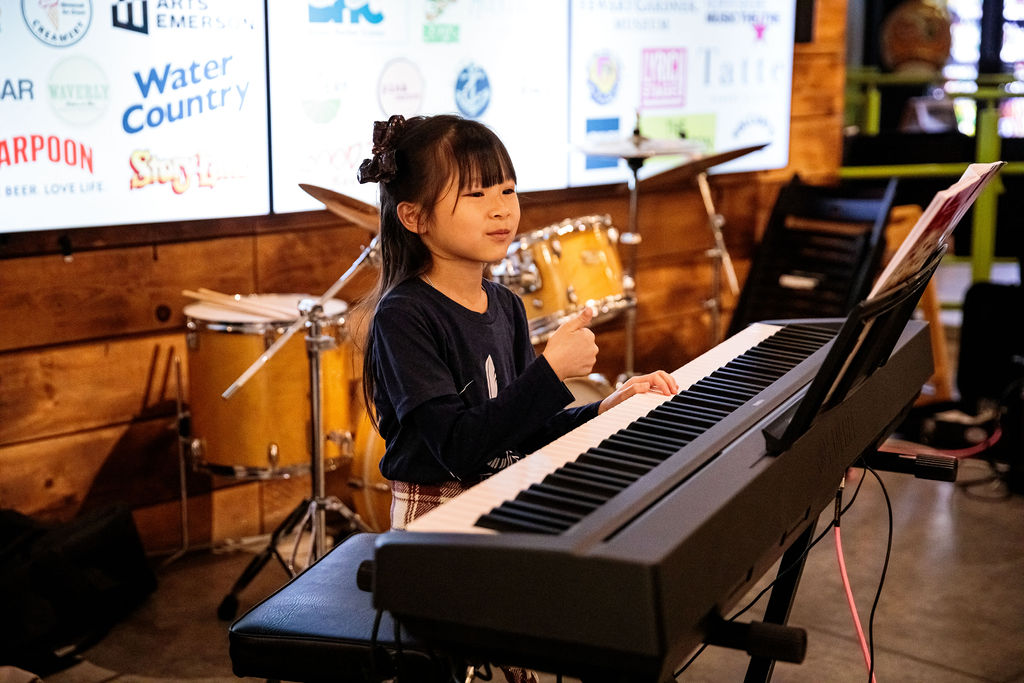
Kids Piano Discovery:
For both the 10-Week Session and 30-Week Session of Kids Piano Discovery, students will be working from “My First Piano Adventure” by Nancy Faber.
You can purchase this book directly from the supplier or Amazon.
Book: “My First Piano Adventure” by Nancy Faber from Amazon and My First Piano Adventure
For the 30-Week Session of Kids Piano Discovery, students are required to have an instrument for at home practice. We suggest a 32-key electronic keyboard. These are battery operated and portable.
Dance Programs
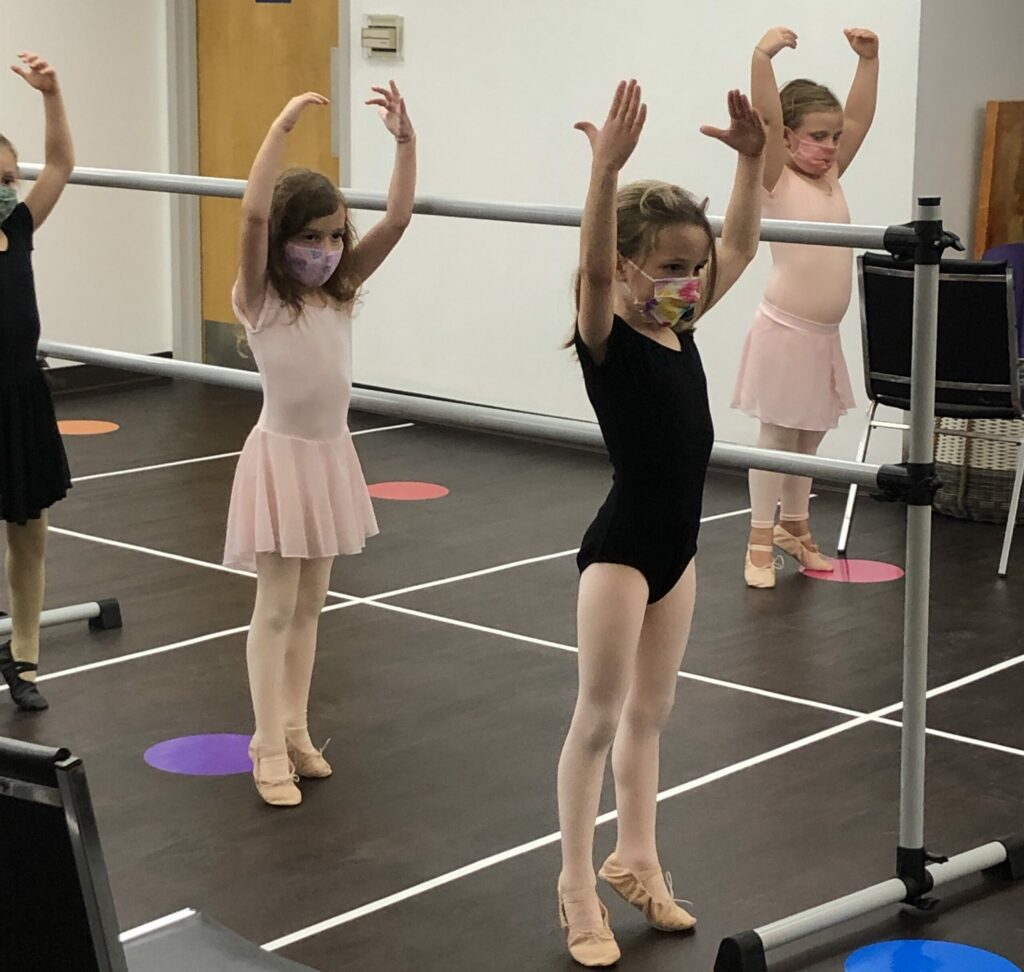
We offer Musical Theatre Dance which incorporates a variety of dance styles! Depending on the style, your student will need appropriate footwear and attire. Each style of dance is unique and requires clothing that will show posture, alignment, and form. Above all, comfortability plays a role in your students’ class experience. We have included affordable suggestions to get you started.
First Steps
Attire- Stretchy, moveable clothing. Many students will wear a ballet leotard and dance skirt, but it is not mandatory for this age.
Shoes- Ballet shoes or anti-slip grip socks.
Broadway Ballet
Attire- Clothing that is easy and comfortable to move and dance in, except for jeans or skirts. Ballet shoes are required.
Shoes- Ballet shoes.
Musical Movers
Attire- Students are welcome to wear any clothes they are comfortable dancing in, except no jeans or skirts
Shoes- Sneakers, ballet shoes, and tap shoes for the Charlestown section. Tap shoes are not required for the North End section.
Center Stage Dance
Attire- Students should wear clothes they are comfortable in (no jeans or skirts).
Beginning Hip Hop Dance
Attire- Loose, comfortable clothing meant for movement.
Shoes- Jazz sneakers or non-street sneakers
Helpful Tips:
– In the cooler months, it is important for the dancer’s body to stay warm. Students can always remove layers of clothing throughout the class to stay comfortable. Dance/yoga pants, leg warmers and light sweaters are encouraged.
– Hair should be pulled back and away from the face.
– Many of our dance classes take place directly after school. Please make sure your student has their dance clothes to change into for class. If you happen to forget either of these on a class day, no worries, it happens! Our goal is for your student to feel as comfortable as possible.
Group Music Instruction
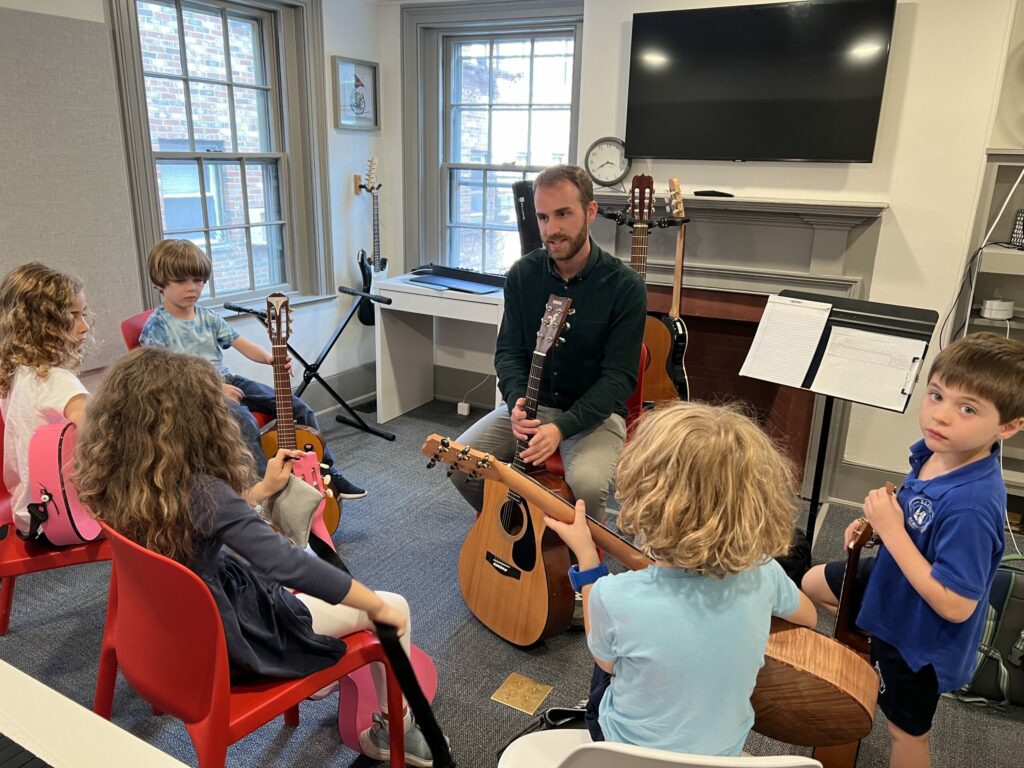
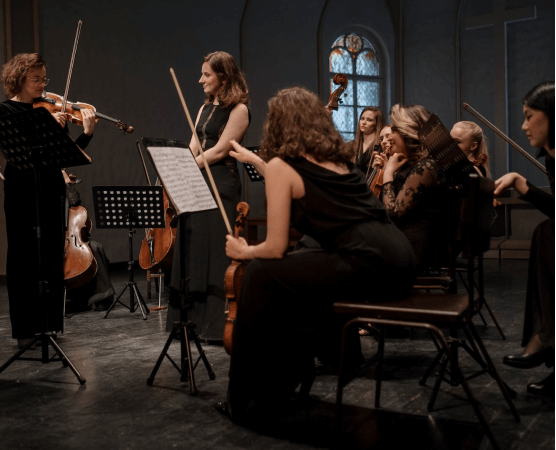
For students participating in group music instruction programs and private instruction, access to an instrument is required, with the exception of the 10-week section of Kids Piano Discovery. Below are some suggestions from our team on affordable purchase and rental options.
Renting an instrument is a relatively inexpensive way to get started. It is often a good option for children who are just beginning, especially if you are unsure of their long term commitment. Most rental locations allow you to rent-to-own which applies your rental payments toward the eventual purchase of an instrument. Renting can also be a good option if your child is growing quickly and may soon be ready for a different size (this applies to string players).
Buying an instrument is a great investment if you or your child plans to play for some time. Some instruments, like guitars, are fairly reasonably priced and it may make more sense to buy. Most instruments appreciate value over time. Make sure to compare prices, and make sure you have an instrument that is comfortable for you or your child. Look for instruments that are in good playing condition. Used instruments can be just as good as new ones, but realize that repairs can be expensive if the instrument is not yet in playing condition. Additionally, be prepared for some additional costs, depending on the instrument. For example, most new guitars (and some used ones) require a set-up job of $30-50. If you purchase a violin or viola, you will need to purchase a bow, case, rosin, and shoulder rest as well. Occasionally, you can find good deals online, but be careful, and make sure there is a return policy in place. Your instructor can advise you on what to look and listen for as you shop for a new instrument.
INSTRUMENT GUIDE
We do not own or rent instruments for students at NEMPAC, but linked here is a guide to instrument rental and purchases. Falcetti Pianos is a preferred vendor here at NEMPAC. If you have further questions please reach out to Private Music Instruction Manager, Mary-Alexandra Onstad at monstad@nempacboston.org.
INSTRUMENT GUIDE
We do not own or rent instruments for students at NEMPAC, but linked here is a guide to instrument rental and purchases.
If you have further questions please reach out to Private Music Instruction Manager, Mary-Alexandra Onstad at monstad@nempacboston.org.
Make A Beat: Songwriting and Music Production
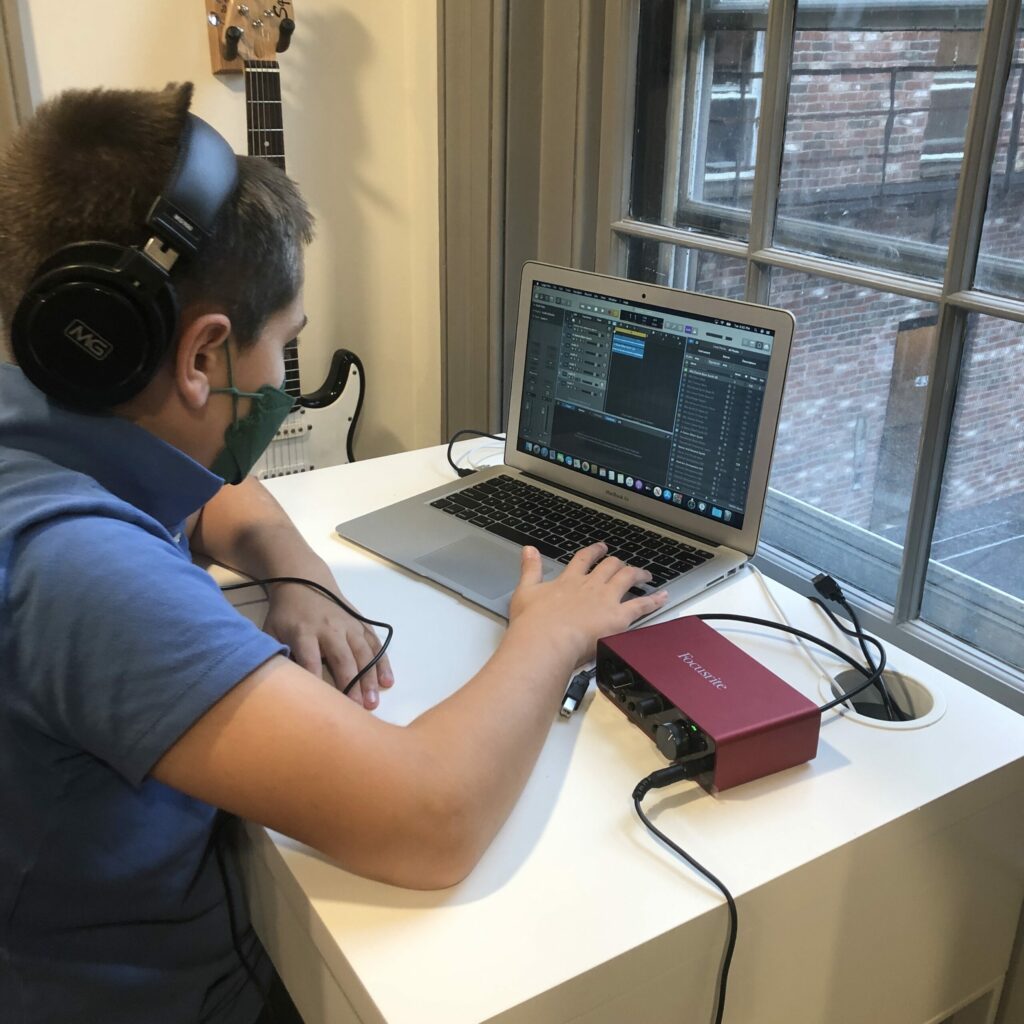
We offer small group classes in music production in our 50 Tileston Street Music Lab. No equipment is required for students to participate, as we have everything they need to be successful in their class onsite. If your student is interested in continuing the practice and creation at home, we suggest the following:
– Laptop
– Logic Pro X Software, available through the App Store on every Mac computer.
– A midi audio interface to connect instruments and microphones to your laptop. Our recommendation is Focusrite Scarlett.
– A midi keyboard. Our recommendation is the AKAI Professional.
Private Music Instruction Recitals
NEMPAC believes that performance is an important part of the musical learning process. NEMPAC hosts bi-annual recitals throughout the year. These recitals are typically held in January and June and are a great way for students young and old to showcase their talents and share with their family and friends what they have learned throughout the session or year. You will work with your instructor to select the best song or song choices so you are ready to go by the time of the event.
Each studio will receive a time and day at least 2 months before each of our bi-annual recital dates and most studios will share this time with one or two other studios. It is important that students are able to stay for the entire recital and to be a good audience member for your fellow musicians. This means sitting up at front with your other studiomates and not making noise while other students are performing.
While these events are not formal, we ask that students dress nicely, and try to avoid wearing jeans, sweats/athletic wear or tennis shoes. It is important to be sure to have your instrument ready to go along with your music should you need that.
Making the most of your private lessons:
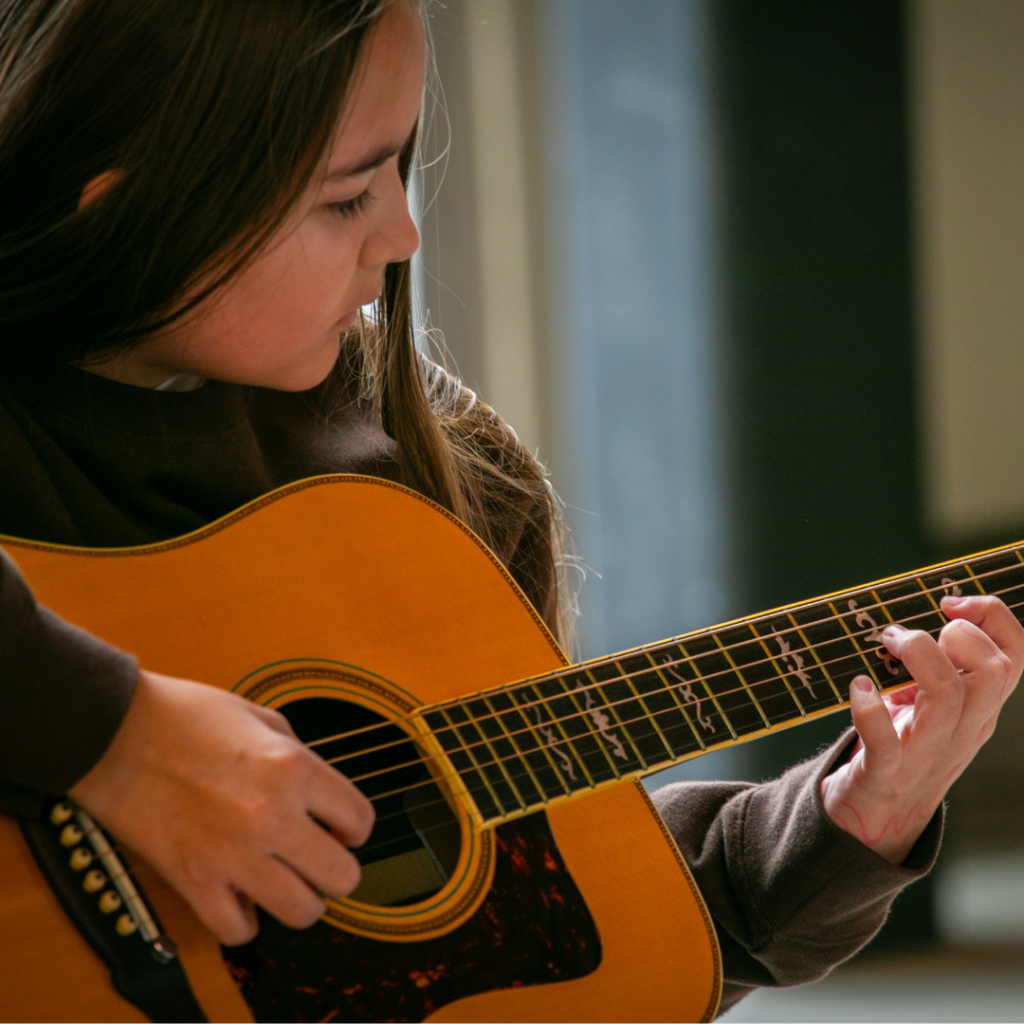
Taking private lessons is a great investment but to make the most out of your child’s lesson time it is important for your child to come to each lesson on time, prepared and ready to learn. This includes bringing their instrument (violin, flute, clarinet, guitar, ukulele), books or sheet music, and a notebook to take any necessary notes that their teacher gives them, along with water if you are a vocalist. If you are running late or going to be absent, please reach out to NEMPAC Administration and your instructor.
RESOURCES FOR ONLINE LESSONS
In this guide, we will cover information for students who are already registered and signed up with the basics of online private lessons, how to join your online lessons, additional activities you and your child can do together, and a list of free or cheap online resources to keep music, theatre, and dance alive in your home.
Advantages of Online Lessons
– No lugging instruments around, especially nice for large instruments.
– The online dynamic tends to make the time spent very focused.
– You can continue with your instructor even if you or they travel, or move, or if you live in more than one place.
– You are very unlikely to catch an illness!
– Parents, for young students, are able to dial into lessons from a third location.
– It’s very easy to record the lessons
– Lesson recordings (and notes and attachments added to the lesson) are securely stored for you and the instructor to refer back to at any time.
FOUR COMPONENTS ABSOLUTELY REQUIRED FOR LIVE ONLINE LESSONS:

- Computer or tablet or phone with camera capabilities
- Your Instrument
- Webcam
- Good Internet Connection
Platforms
PLATFORMS
ONLINE LESSON SET UP
- Set up a time and day for your lesson, and set a rule for who will call who. Will the Instructor call the Student? Or will the student call the Instructor? Be timely with your dial-in!
- Make sure your devices are charged before the lesson! If the device starts to die mid-lesson, it not only knocks the flow of the lesson but can go unnoticed and accidentally cut the lesson short.
- Make sure you meet in the same location with high-speed internet each week (if possible)
- Good lighting is important on both sides.
- Find a quiet room where there are limited distractions – Parents – we advise that you are not in the room after the lesson starts unless the student is aged 7 and under.
- For piano lessons, angle the video camera, phone, or device at the side and down so the instructor can see the piano from the side and your student’s fingers, but make sure they can still see the students face! Instructors should see you, and students should see instructors!
- For other instruments (voice, violin, guitar, etc) angle the camera on both sides to make sure the student and the instrument are in clear view. We want to be able to see your face and middle to upper body. It is best to set the video conferencing device higher than the desk level. If you can safely prop it on a shelf or something similar that is ideal. You may need to prop the device with a book so the camera faces out and not up your nostrils or at the ceiling. We want to avoid this.


